Install h5ai
NOTE – At the moment the File Download counter doesnt work after installing h5ai – my goal is to have both h5ai presentation of files AND a file download count feature, so I am working on having both. h5ai is a software tool which provides enhanced directory listing of files in folders on webservers. Why you might want to install it on your BibleBox? Check out these before and after images!
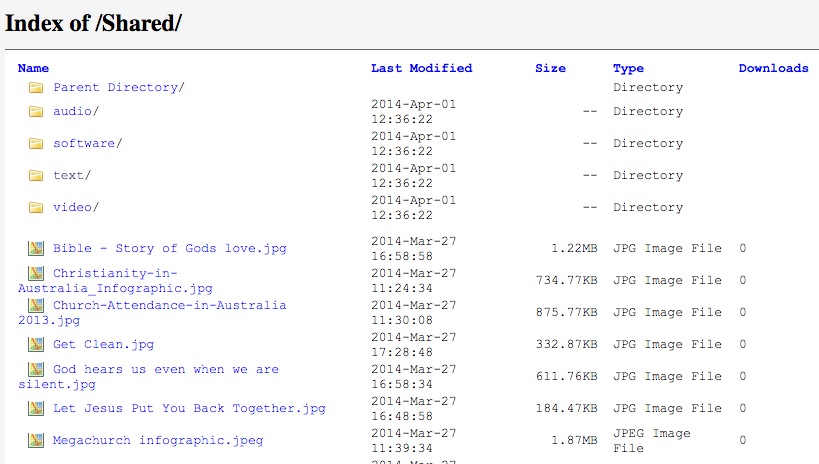
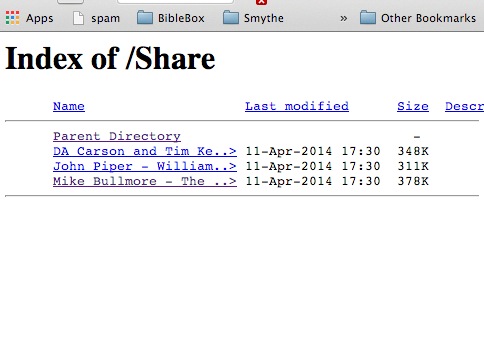
Folder File listing without _h5ai installed
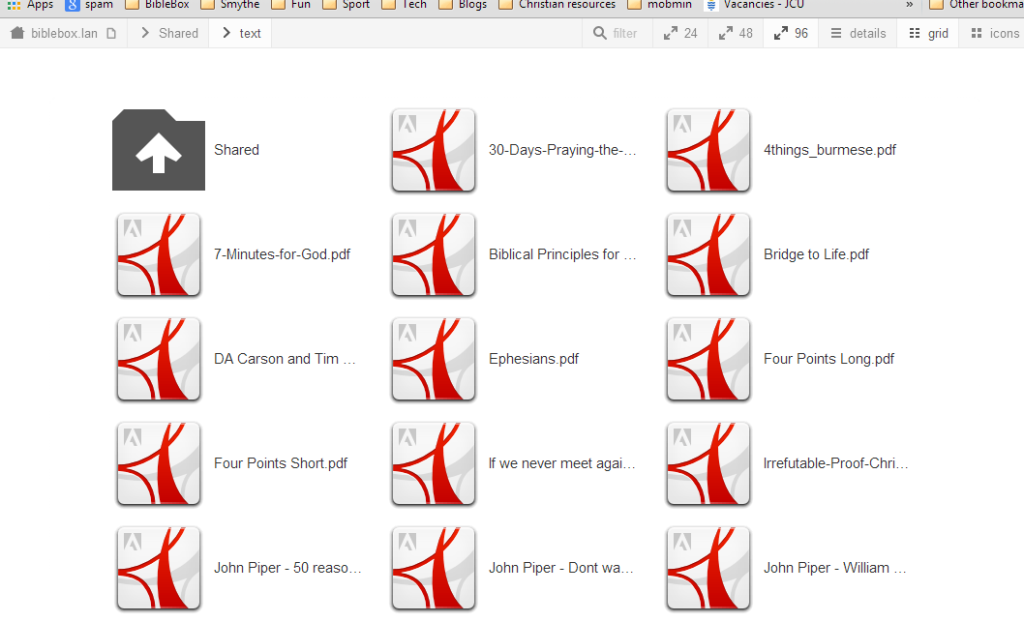
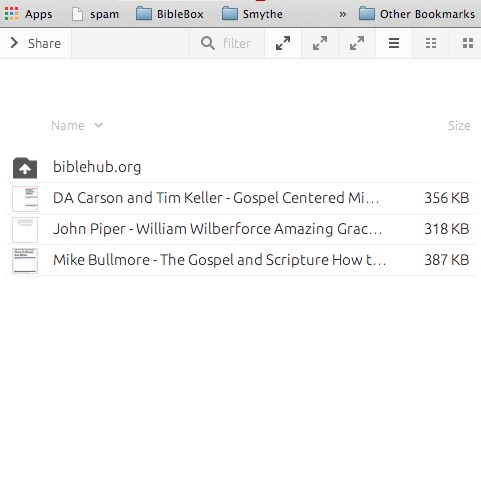
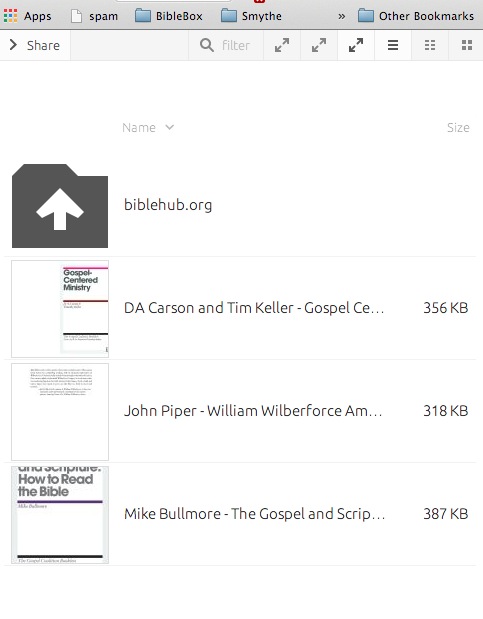
Folder Listing with -h5ai installed
To install h5ai on your BibleBox follow these steps:
- Download the h5ai-setup.zip file which includes 2 files – h5ai_installer.tar and install_h5ai.sh. This download of _h5ai from BibleBox.org contains an options.json file with options already set for best use on the BibleBox TP MR3040 router.
- NOTE: testing various options in the options.json file of _h5ai lead to the settings in this file. If you want to modify it yourself go ahead, but know that showing file previews, enabling selected downloads as packages, displaying folder trees, all makes browsing files on the BibleBox S.L….O…..W)
- Unzip the h5ai-setup.zip file and copy the 2 files h5ai_installer.tar and install_h5ai.sh in the h5ai-setup folder to the root folder on your USB (ignore the .DS_Store file – thats a file from Mac)
- Plug the USB into your BibleBox and power it on
- Connect the BibleBox ethernet to your computer (remember to manually set an IP address on your computer as 192.168.1.2)
- Connect to the BibleBox using SSH
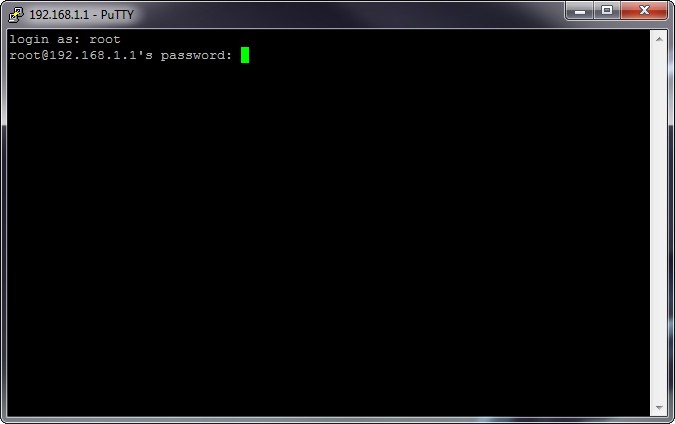
PuTTY SSH Login
- After logging in, from PuTTY or Terminal (OS X) run the following commands:
- cd /mnt/usb/
- chmod 755 install_h5ai.sh
- sh install_h5ai.sh
- After the BibleBox has restarted browse the shared folders to confirm the changes and that _h5ai is working for you as intended.
- You can then put the USB back into your computer and delete the h5ai_installer.tar and install_h5ai.sh files from the root folder on the USB as they have all been copied to the BibleBox itself.
Im happy with how it looks and with all the “bells and whistles” turned off in _h5ai’s options.json file it works pretty well on a small router like the MR3040. Further testing and feedback will be more helpful. Please post in the comments or Forum if you’ve got some experiences to share.